
購物車沒有加入任何商品
× 
拿出卡片時請輕柔拿取,勿用力取出避免卡片折傷。
各款 DIY 卡的製作方式基本相同, 請先找到手中的卡片款式,
確認完成樣式與順序圖後再開始製作。
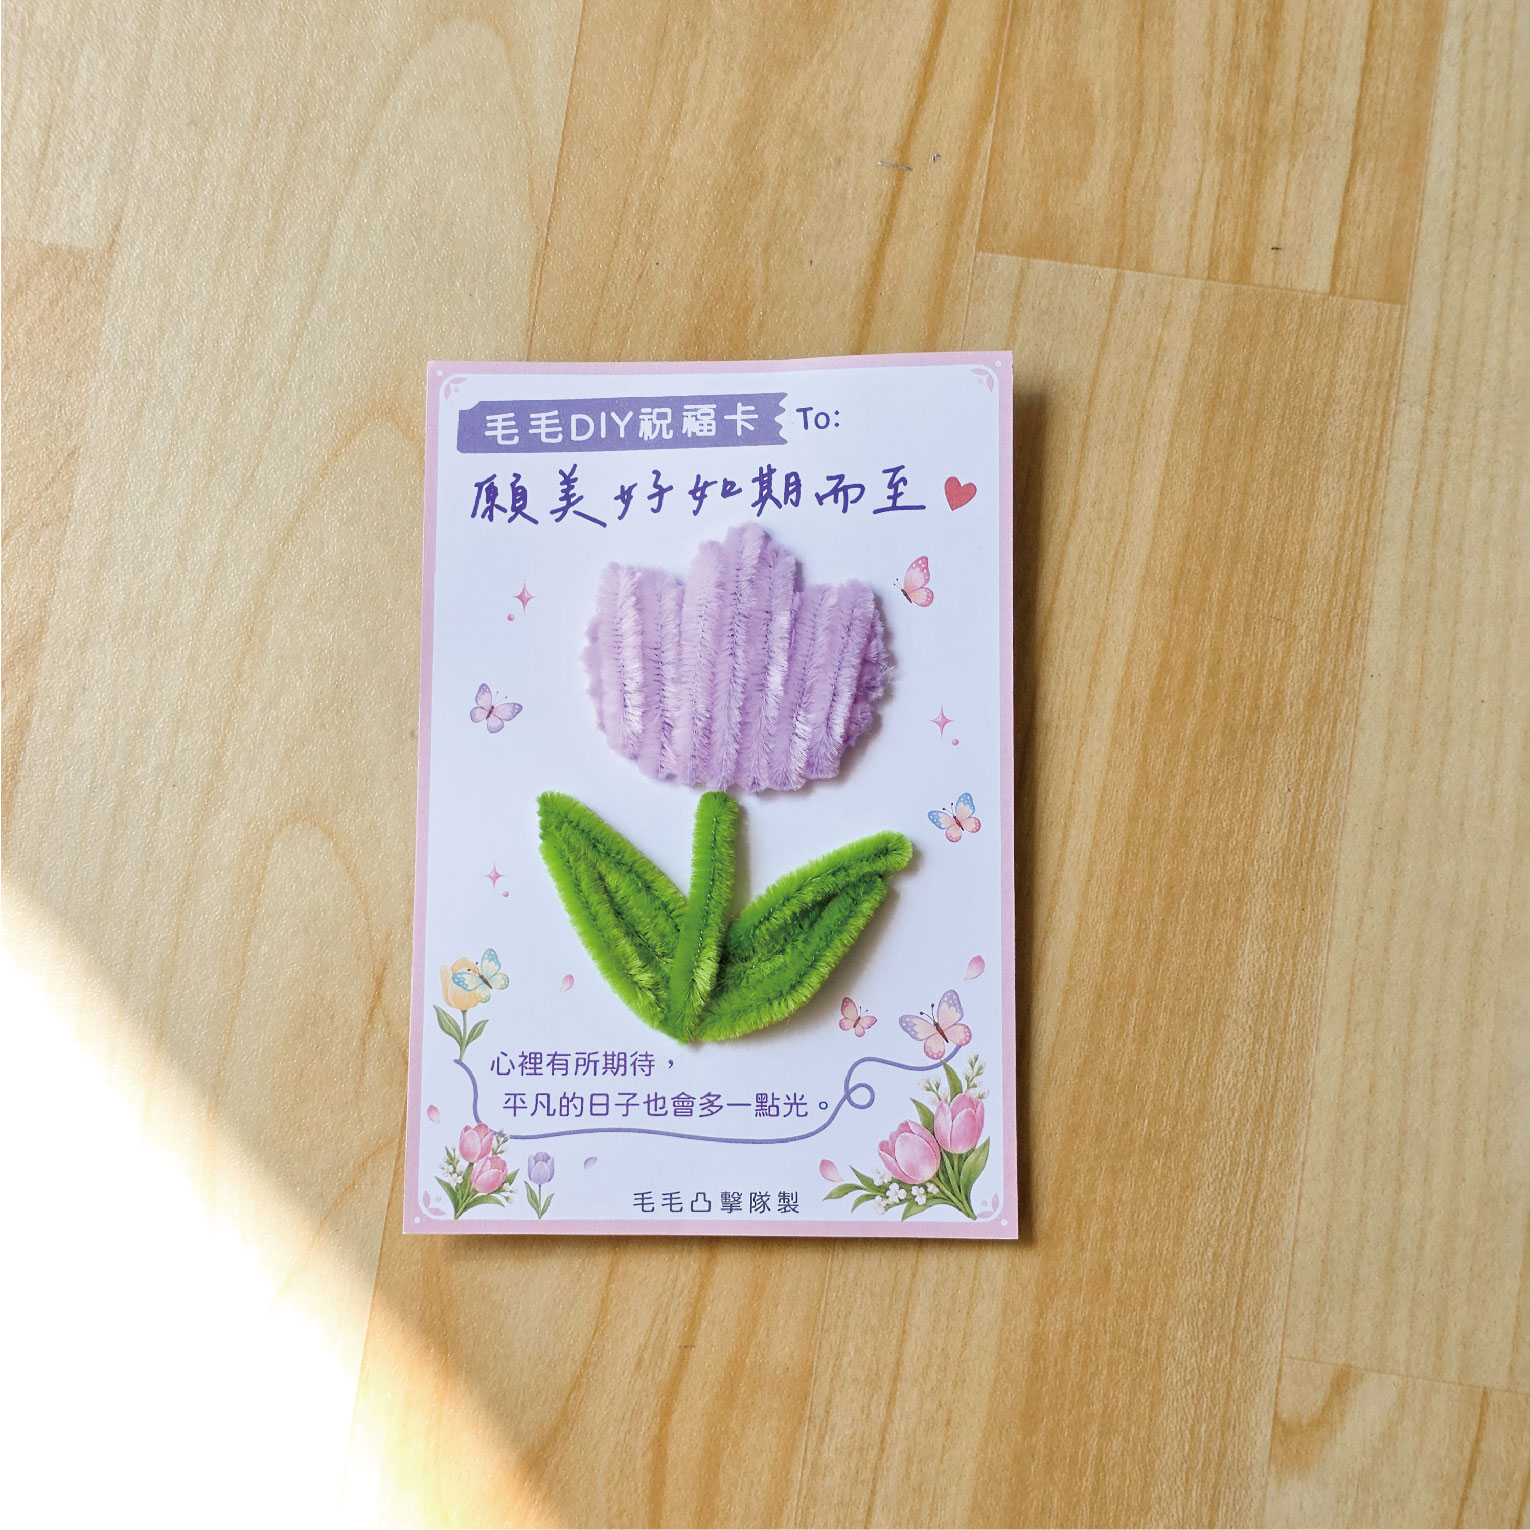
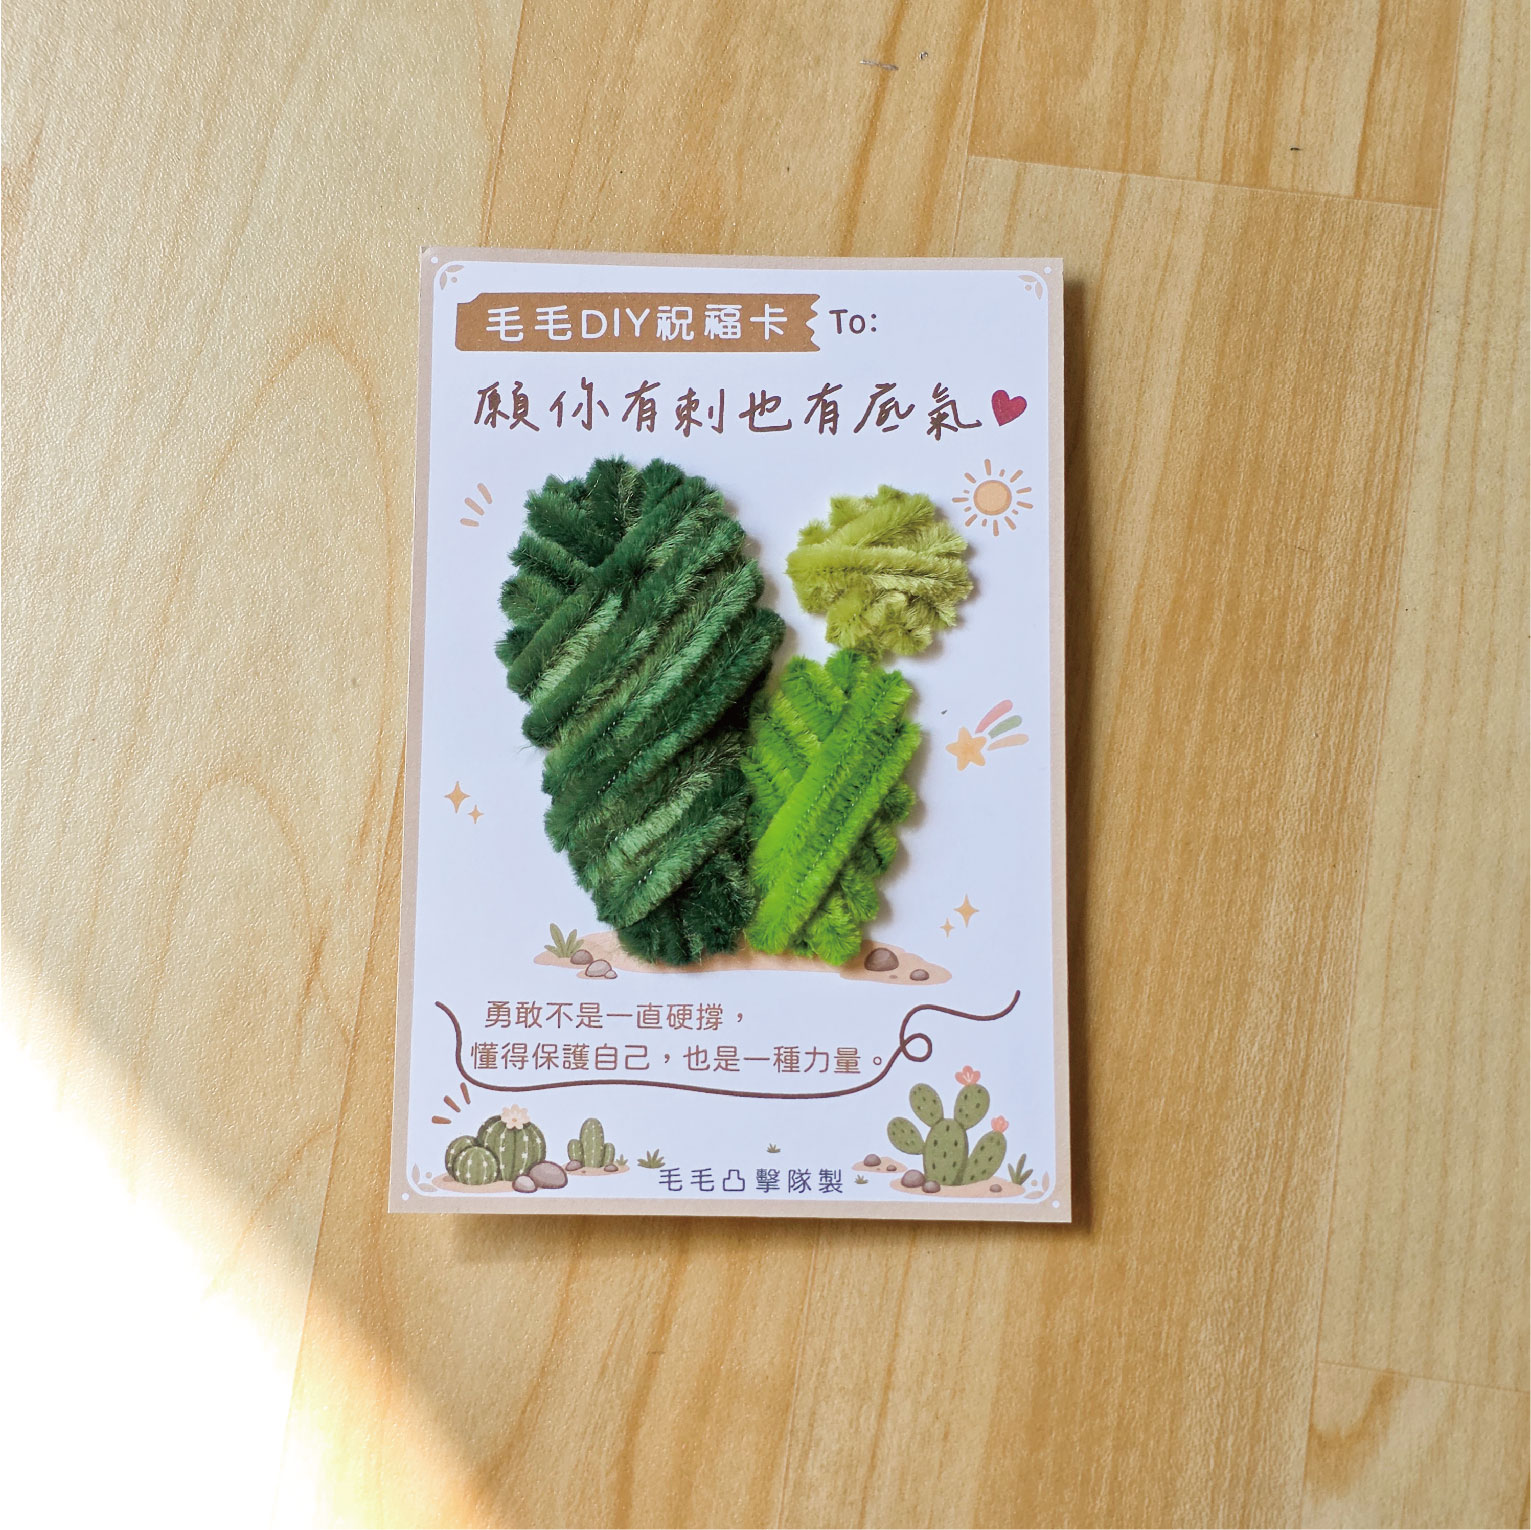
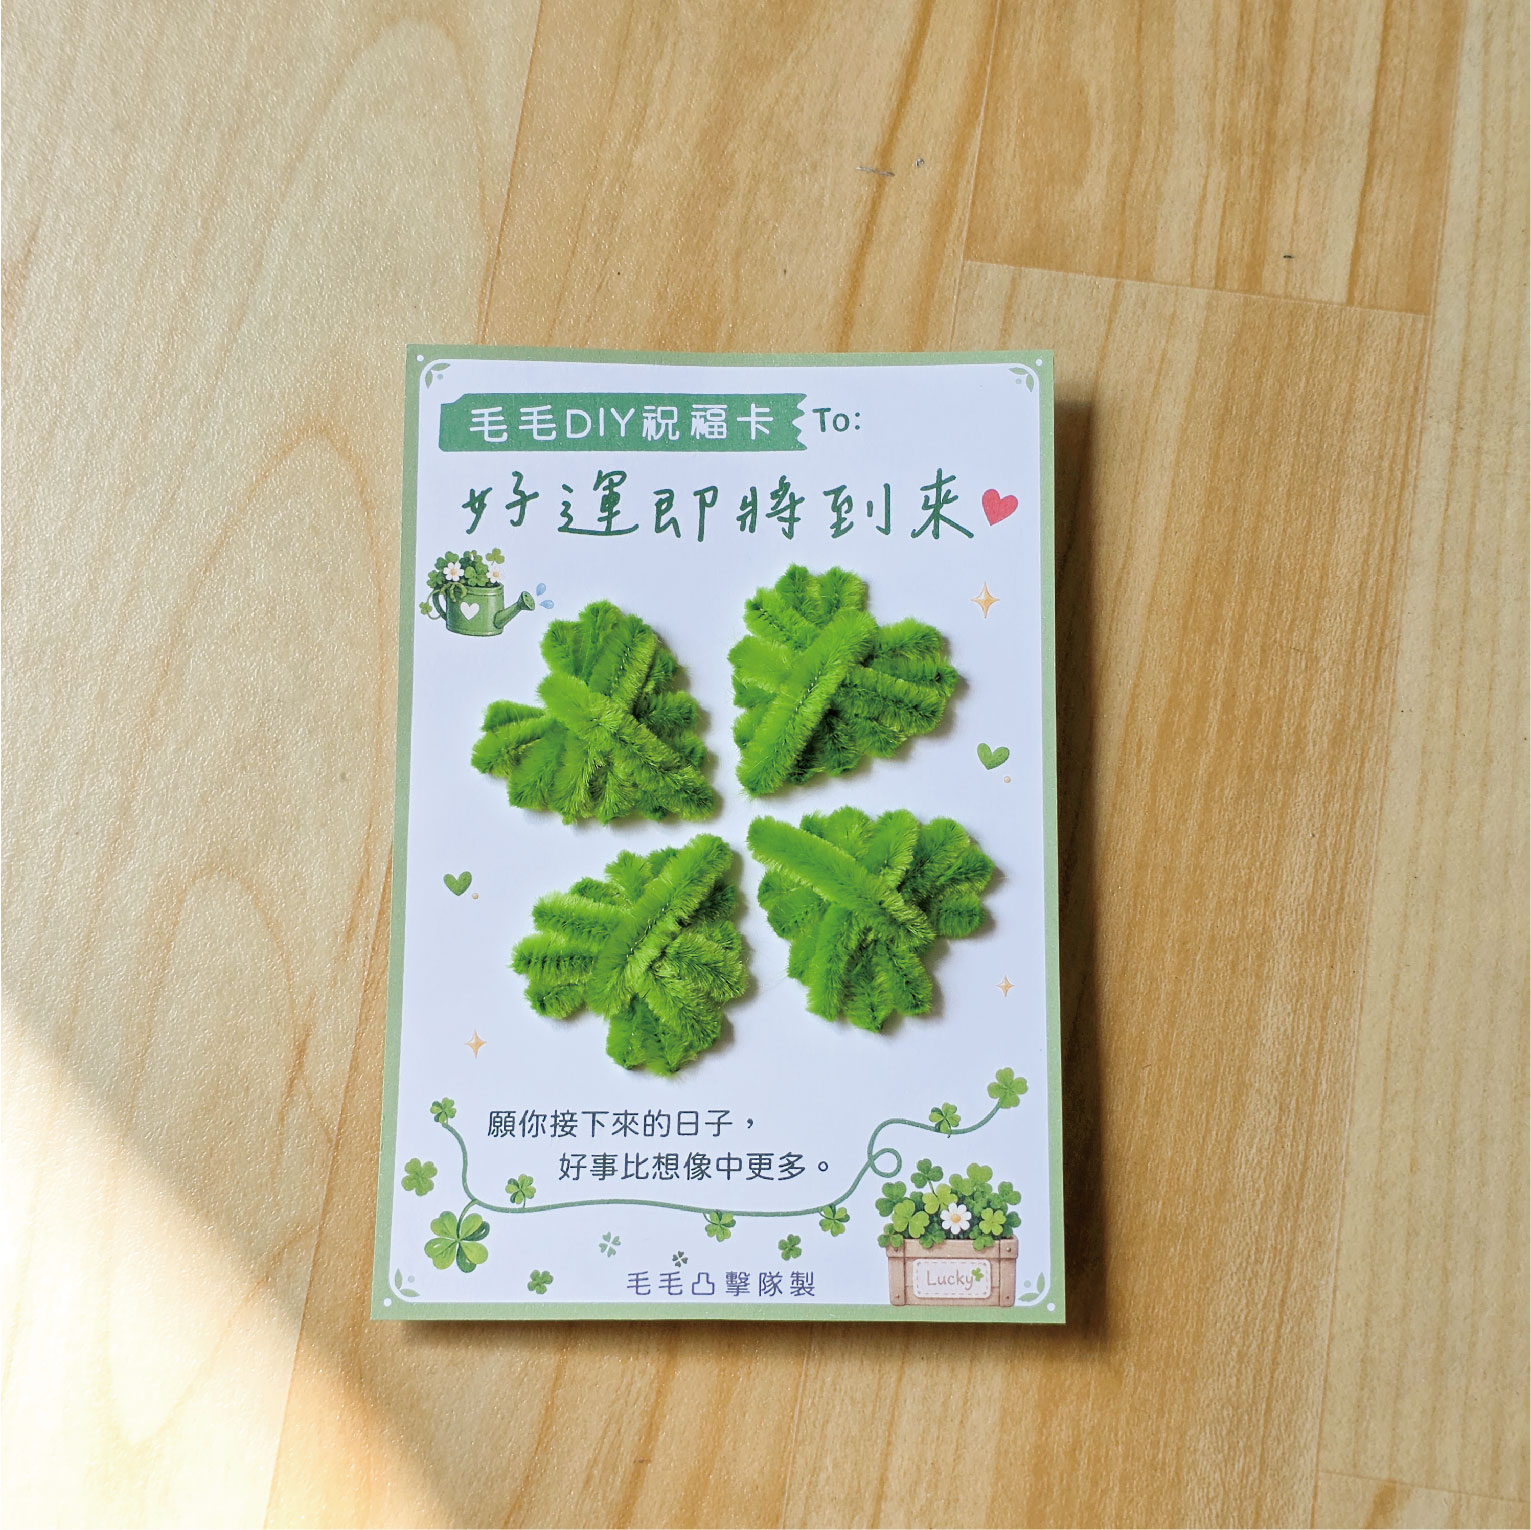
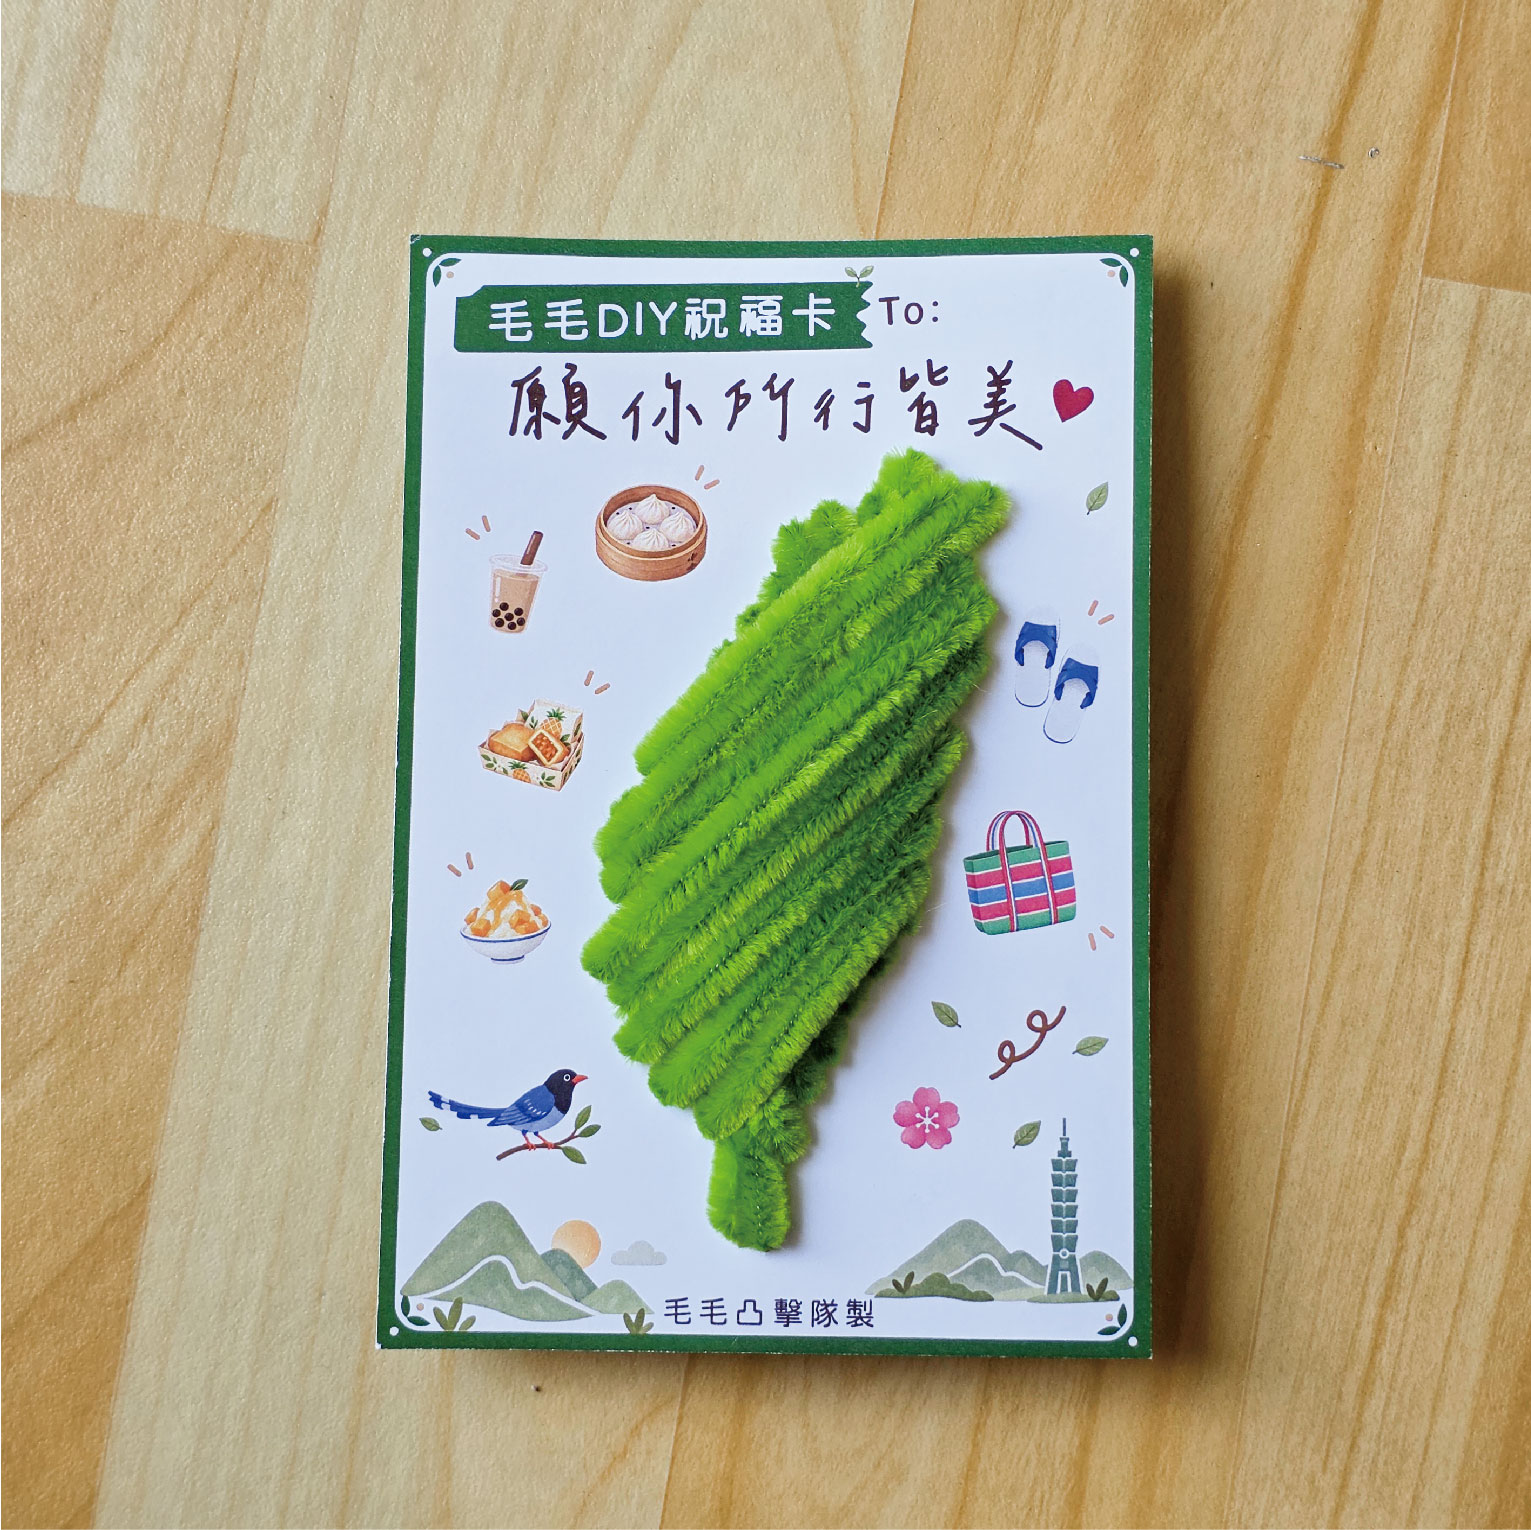
製作前先確認孔位編號與順序, 部分款式也需要留意不同長度的毛根。
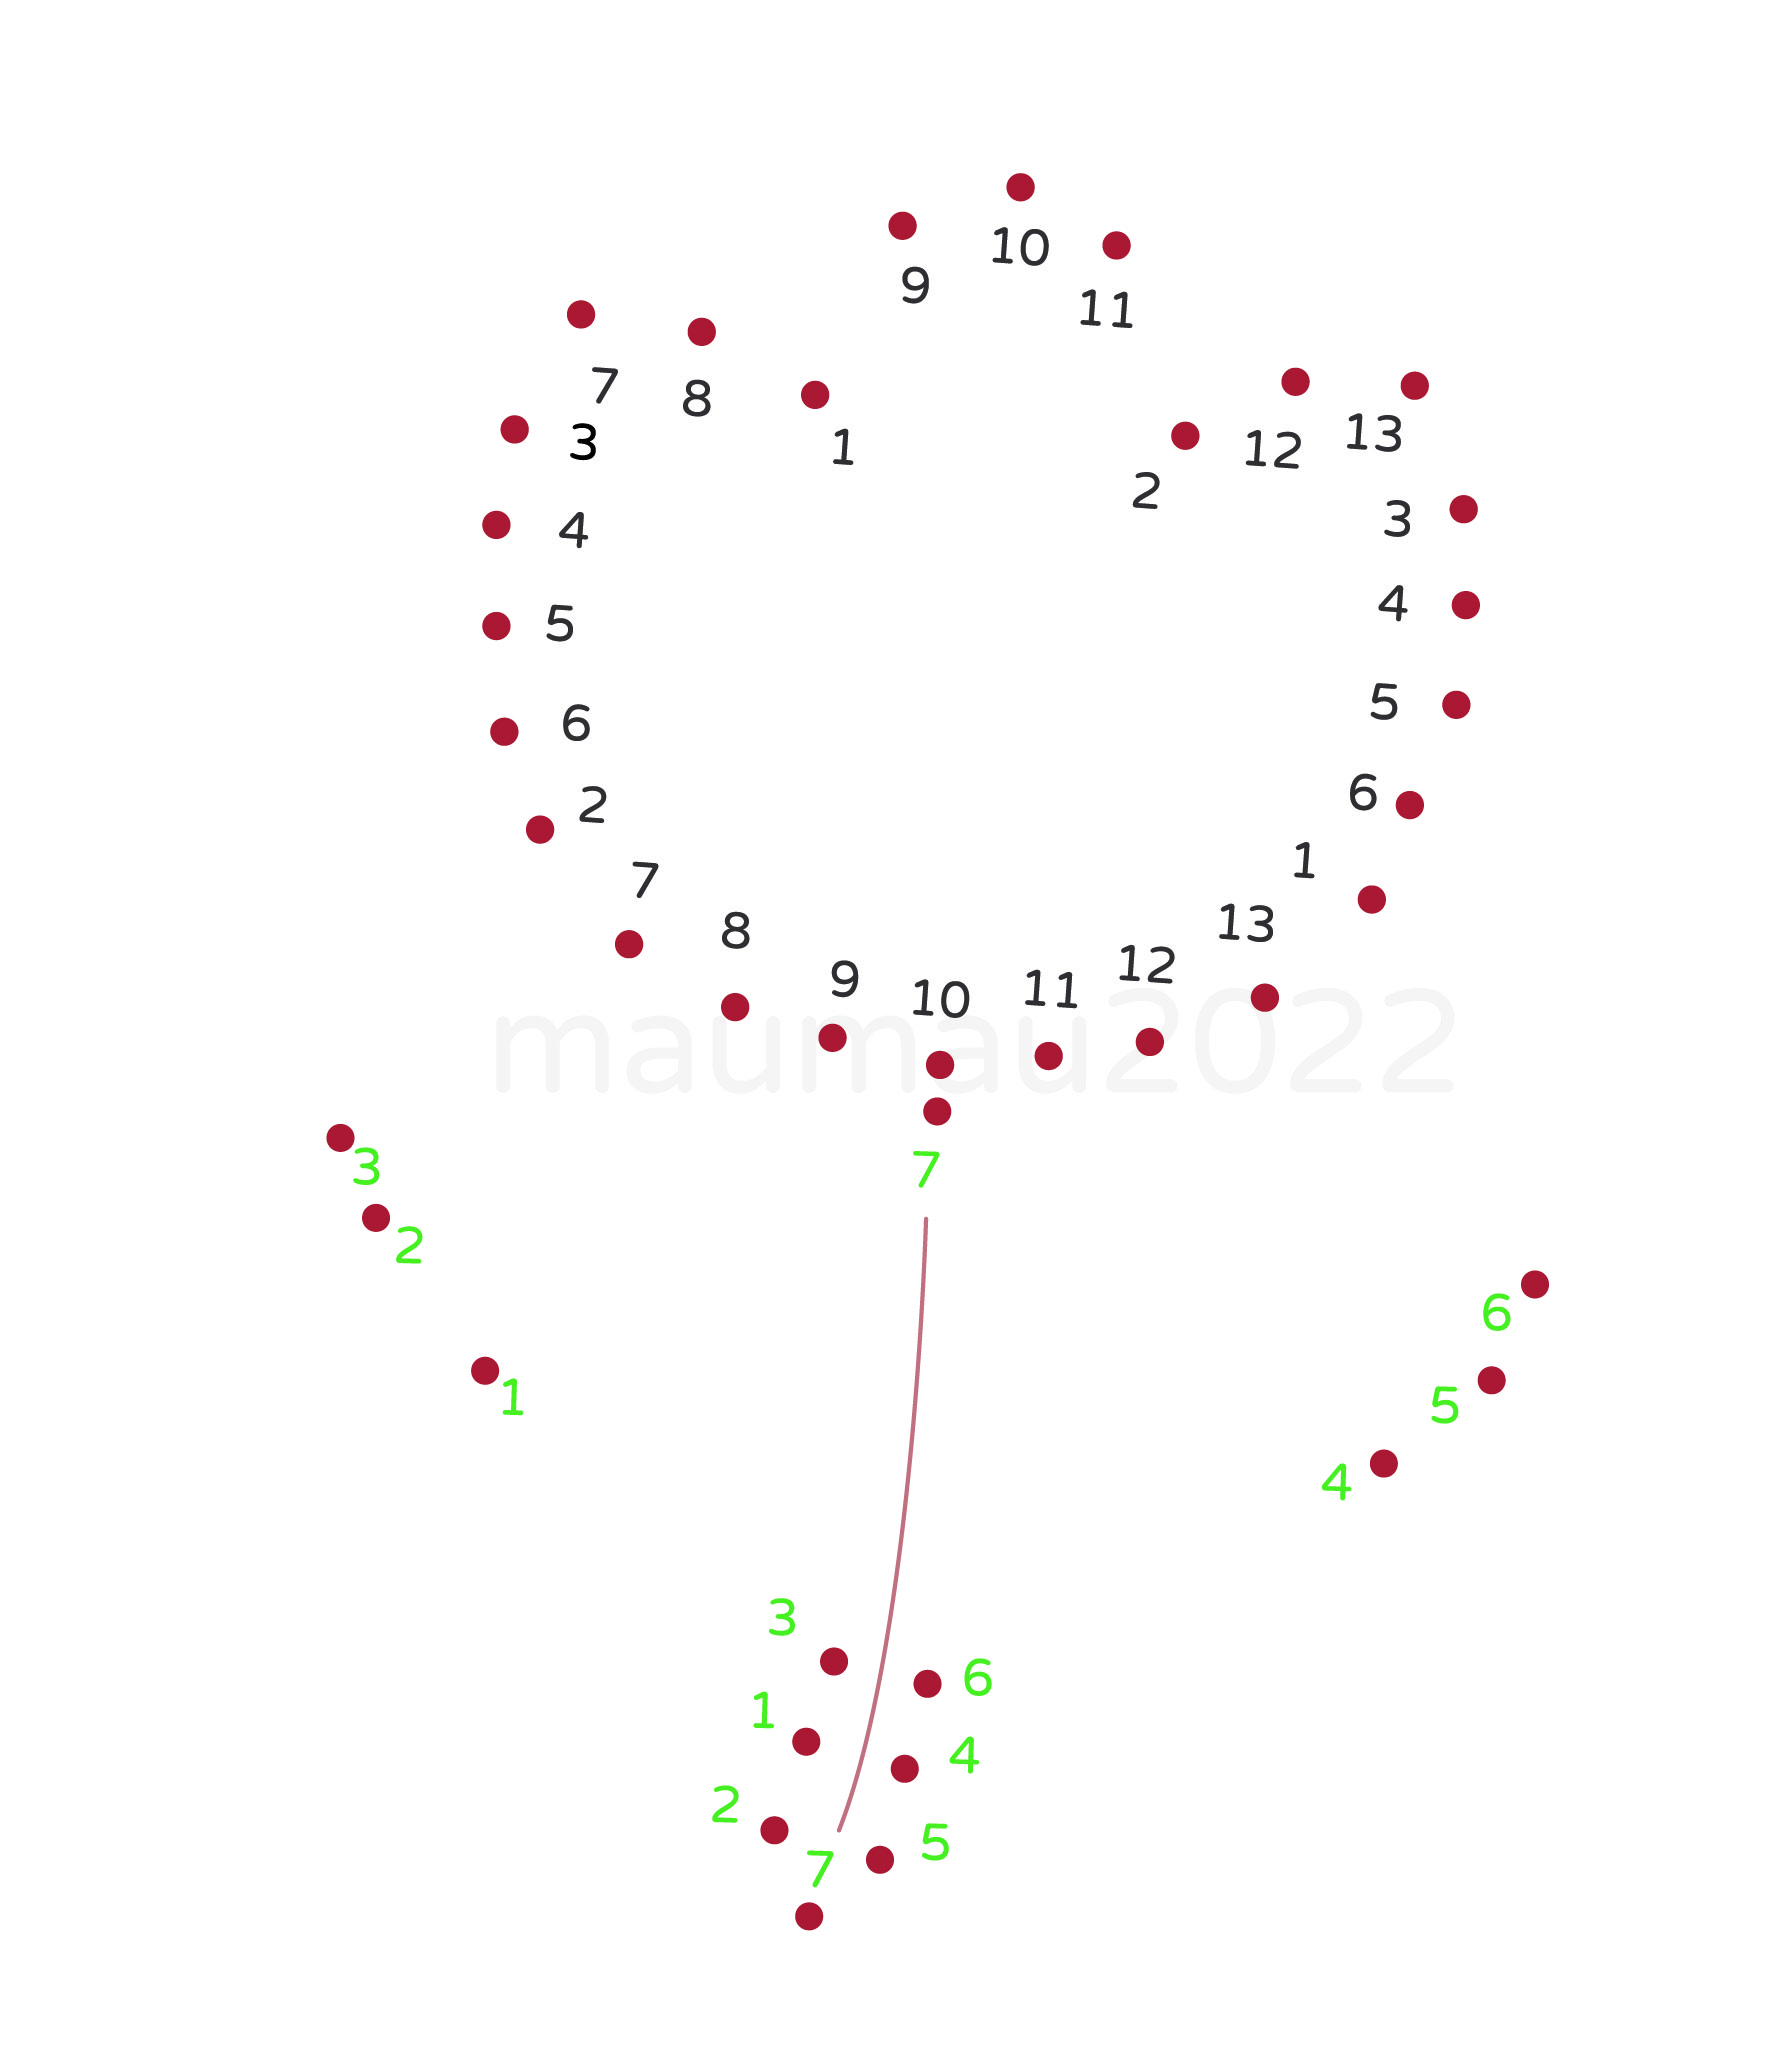
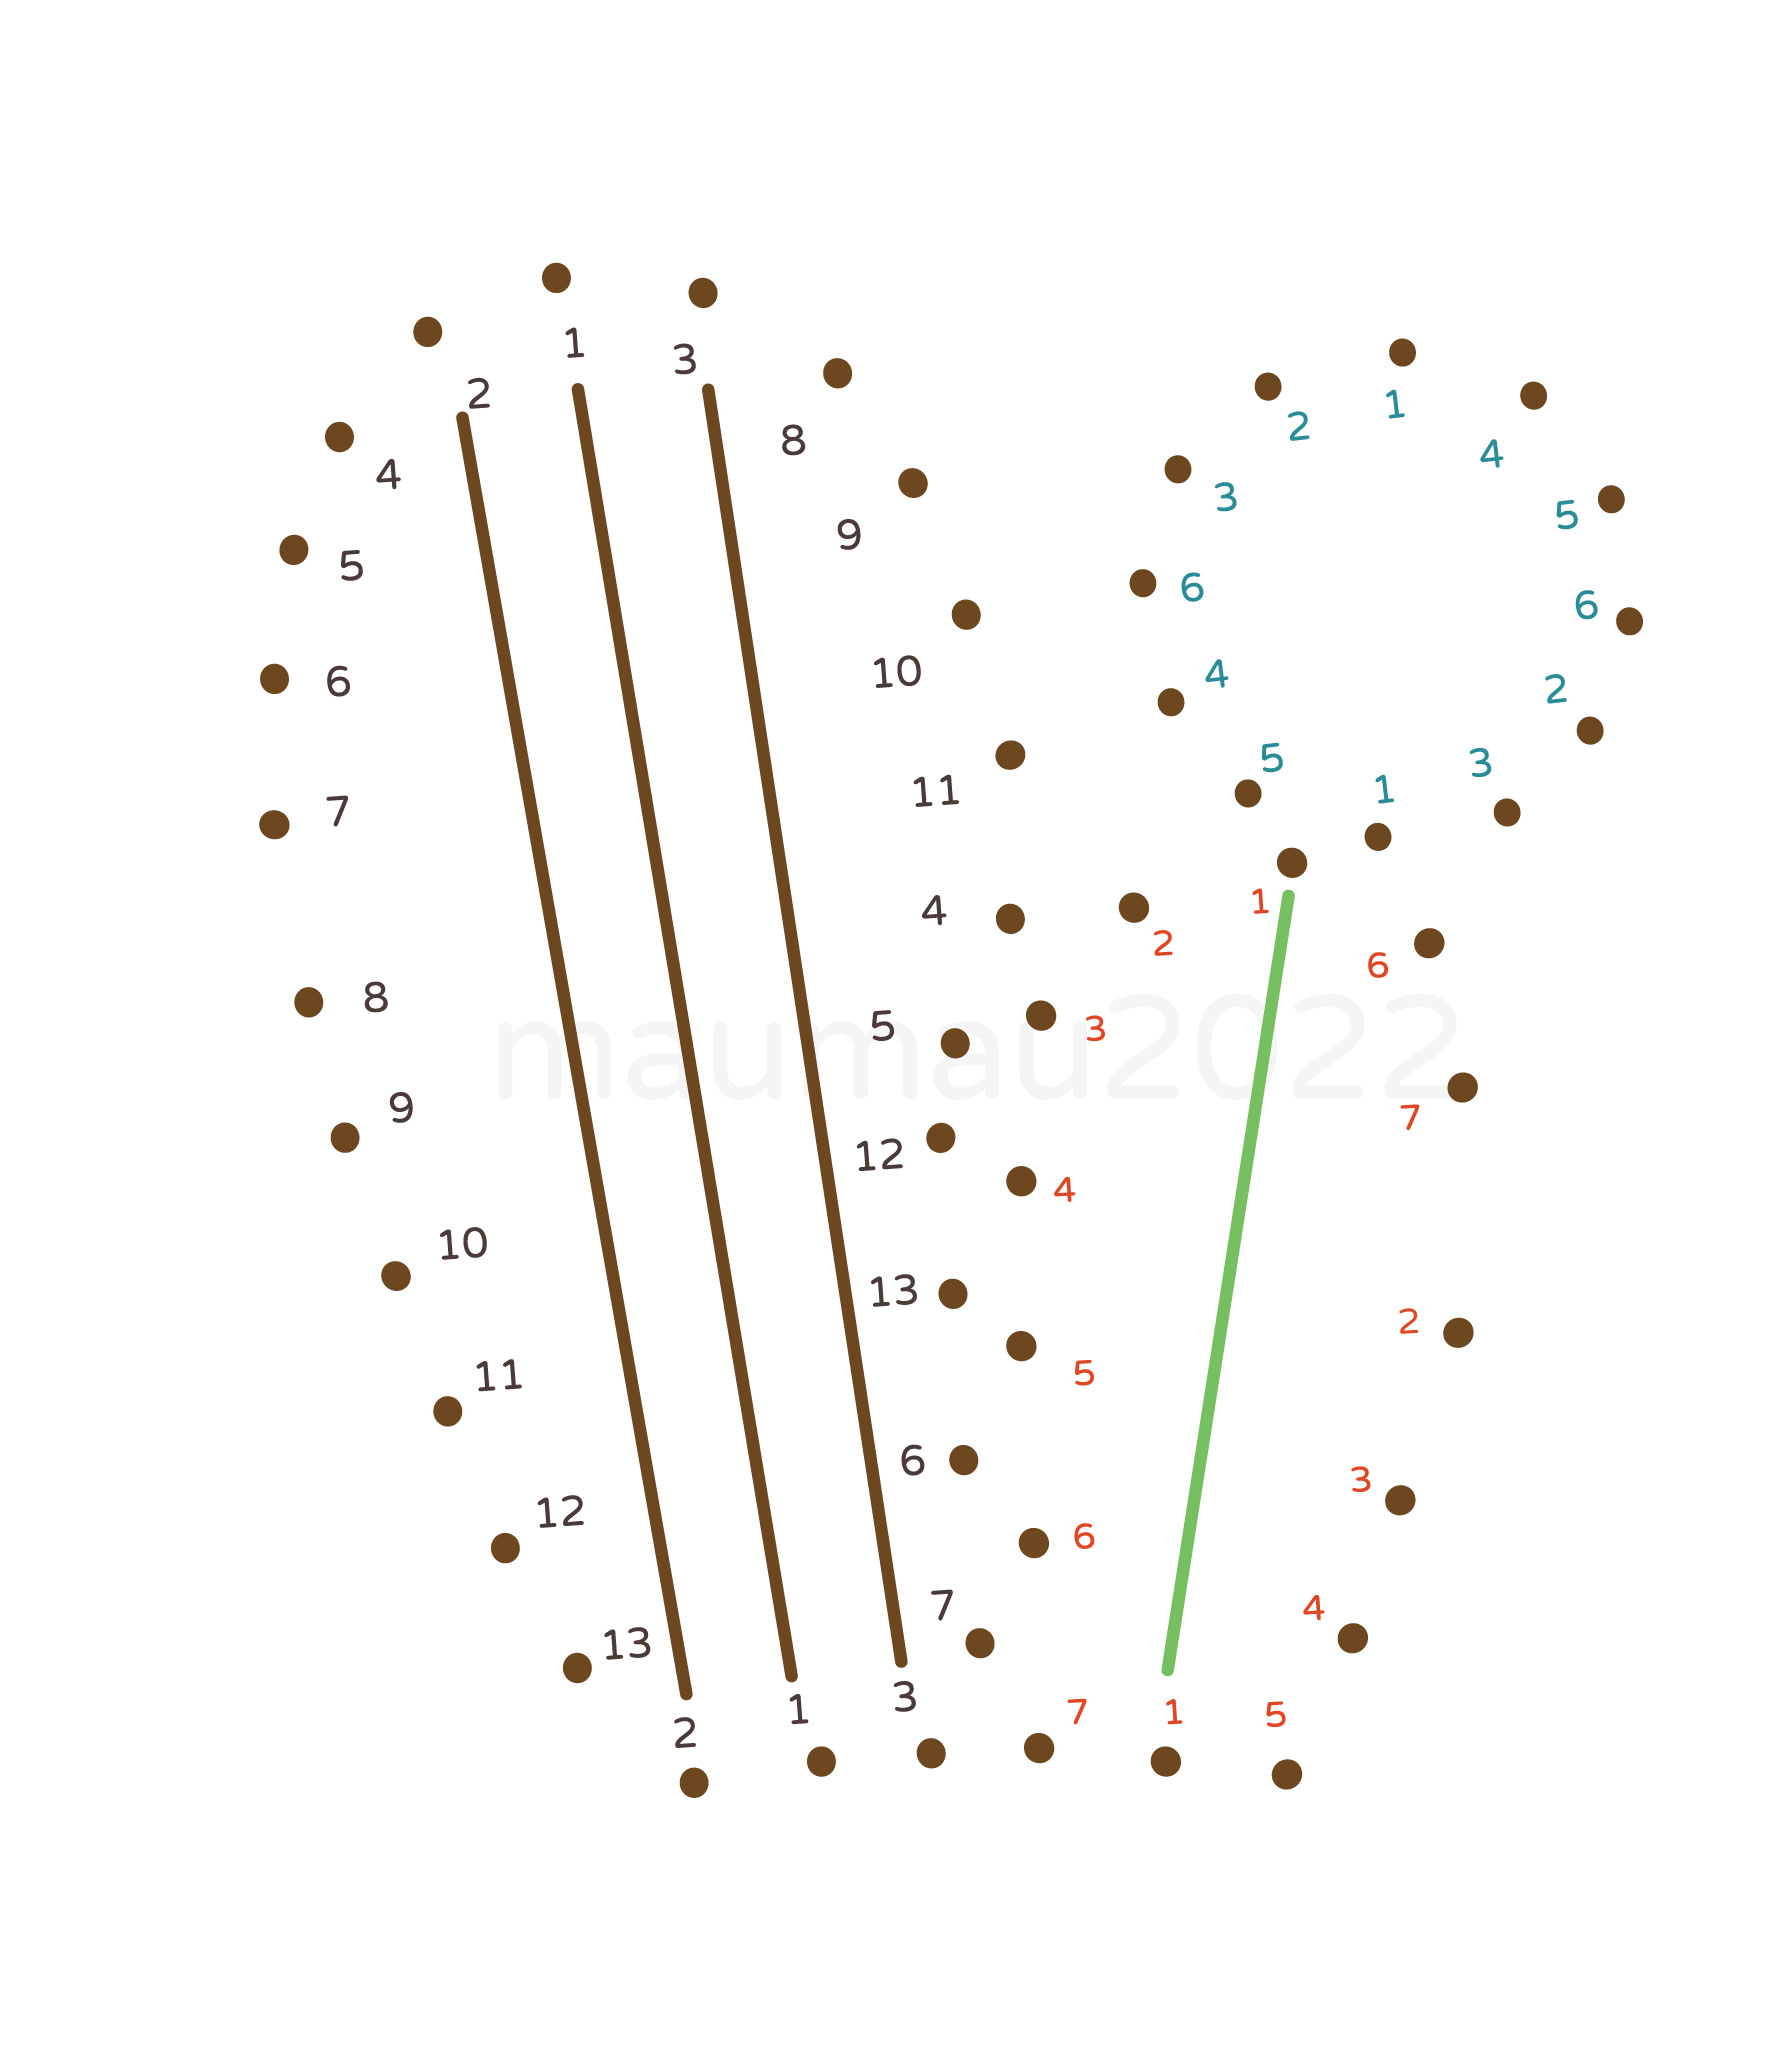
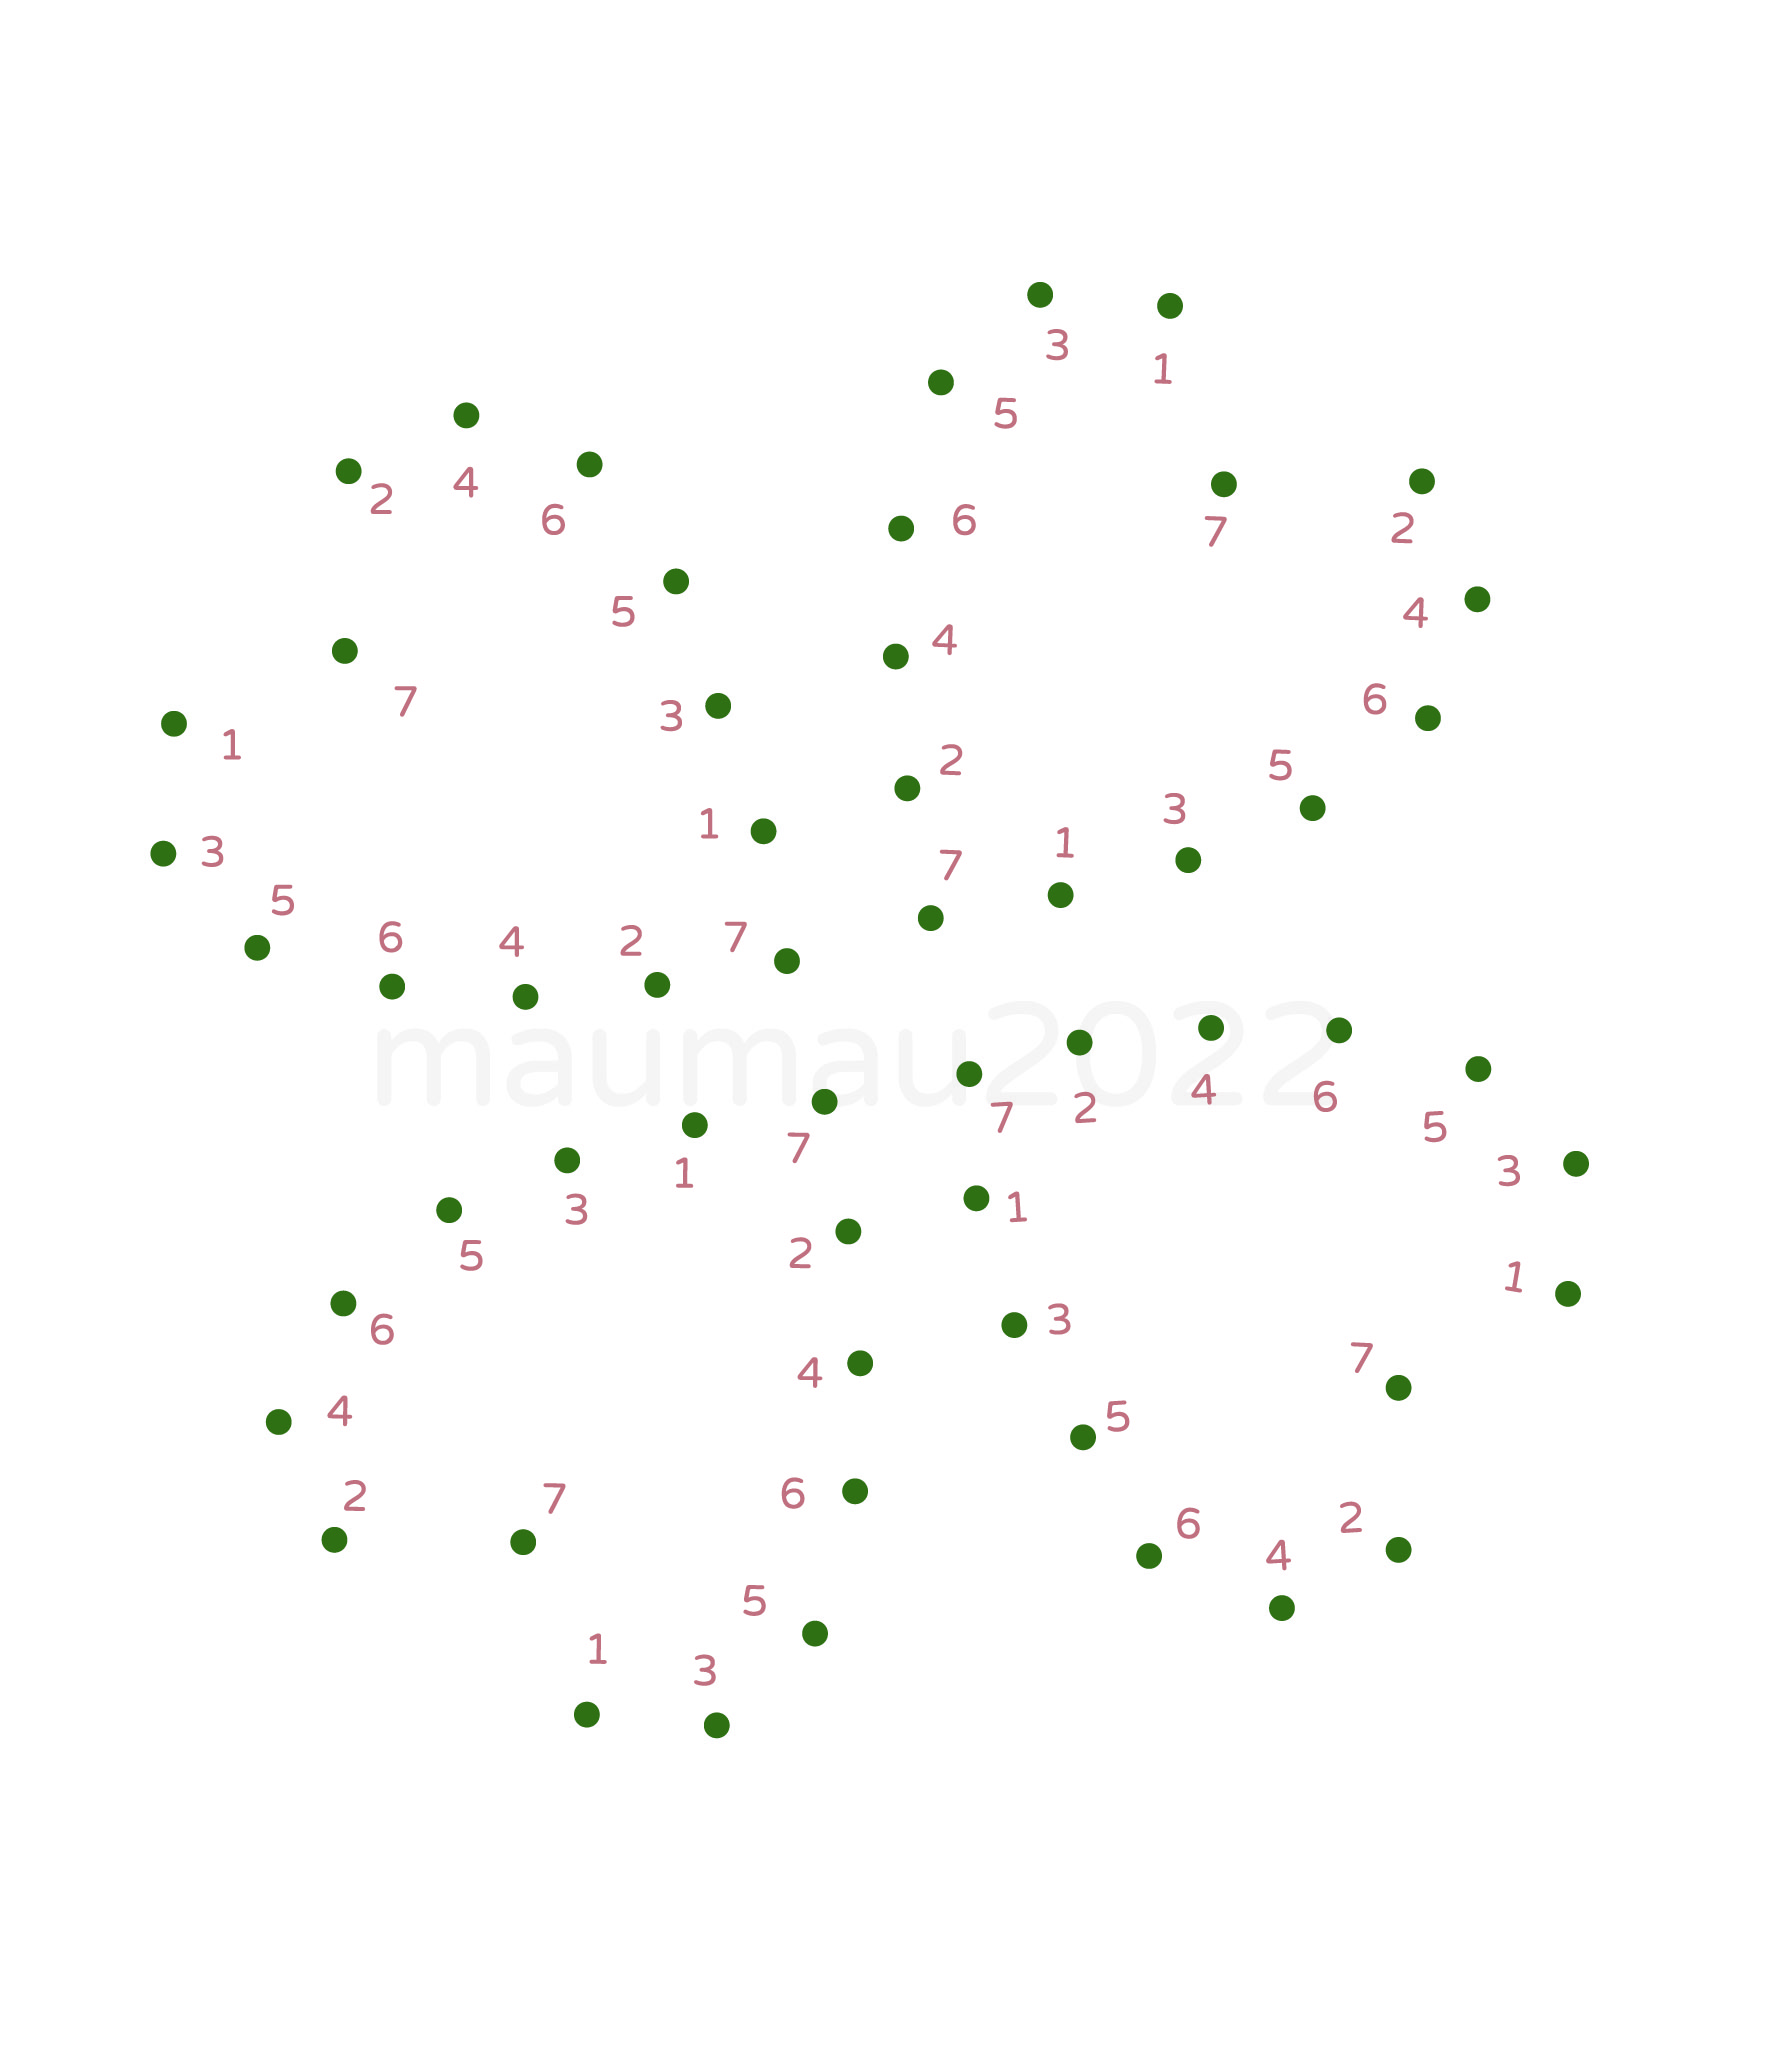
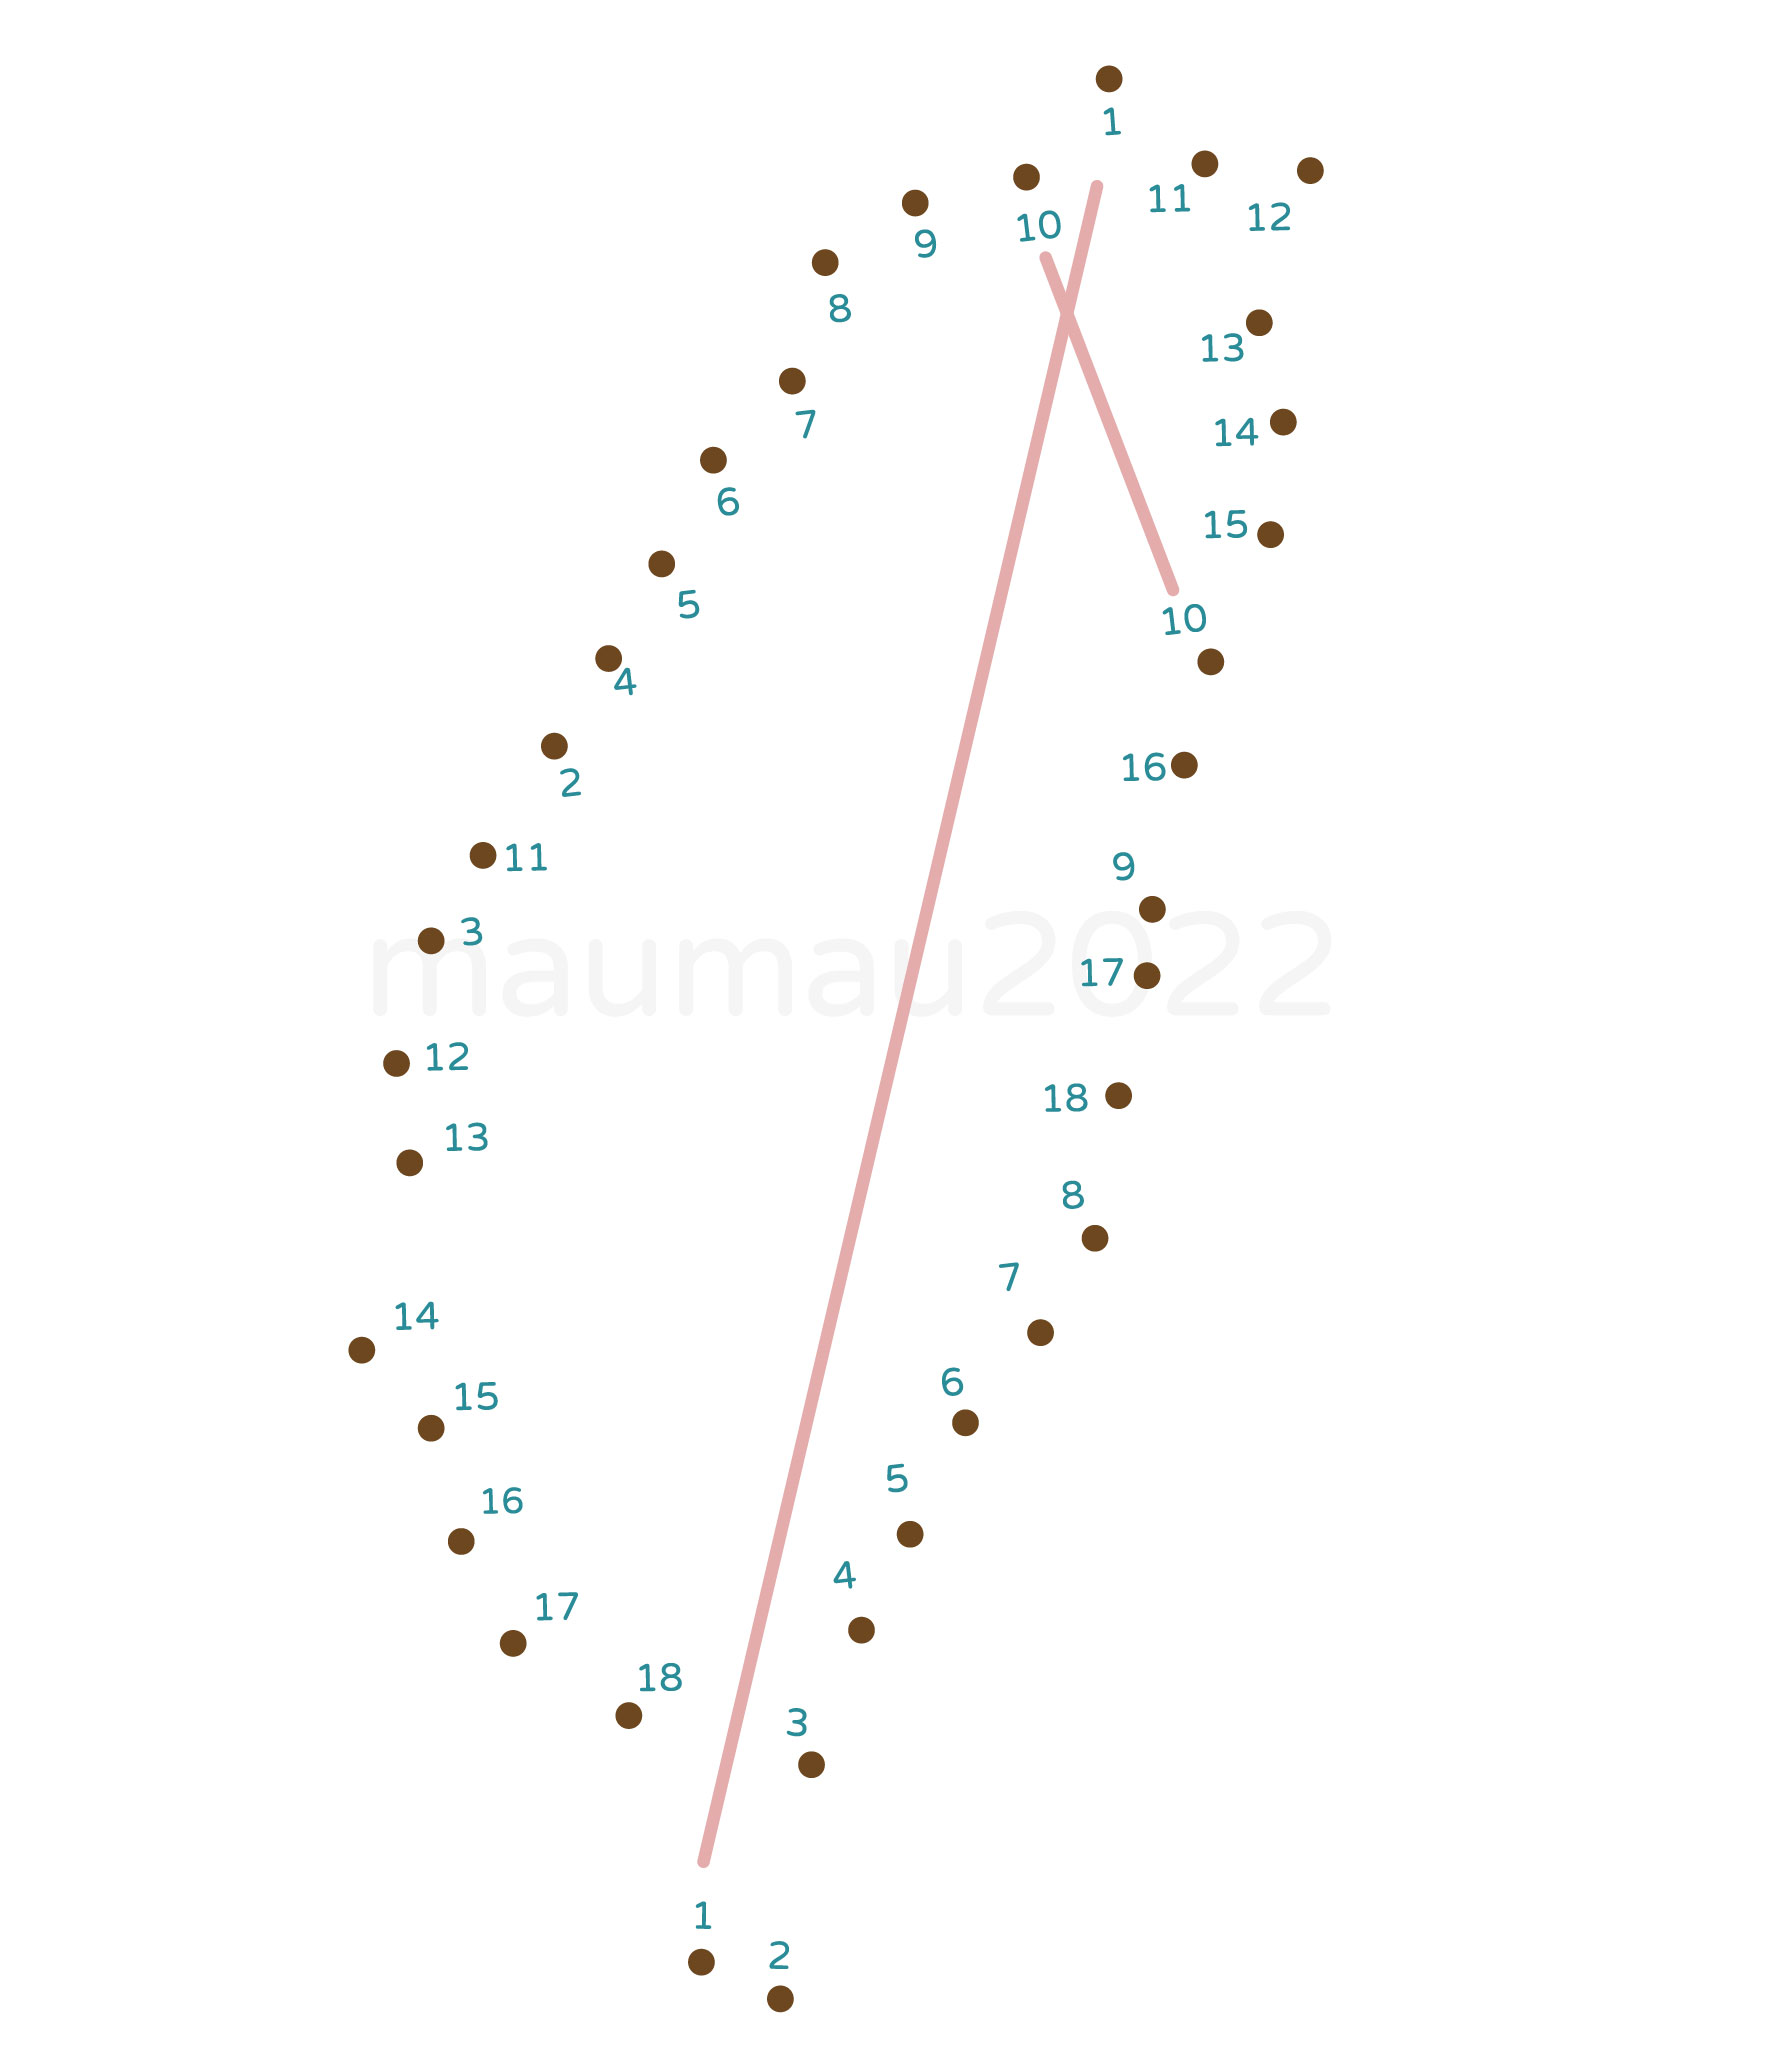
各款卡片皆使用以下基本方式製作。
使用戳針依照卡片上的孔位戳洞。 若手邊有軟布,可墊厚一點, 會比較方便平均施力戳洞。
依照編號順序穿入毛根頭尾。 部分圖形會使用不同長度的毛根, 請留意位置與毛根長度。
紙卡表面的毛根請保持筆直貼平, 盡量不要扭曲, 完成後造型會更加整齊。
每一根穿好後將卡片背面的毛根尾端往內折, 固定毛根避免鬆脫。
使用戳針時務必小心,避免戳傷手部。
All DIY card designs use the same basic method. Find your card in the reference images above and check the hole numbers before you begin.
Use the punch needle to open the marked holes. If you have a soft cloth, fold it and place it underneath the card so you can press more evenly.
Insert both ends of each chenille stem according to the numbered holes. Some designs use different stem lengths, so check the position and length before inserting.
Keep the chenille stems straight and flat against the front of the card. Avoid twisting them so the finished design looks neat.
After each stem is inserted, fold the ends inward on the back of the card to keep the chenille stems in place.
Please handle the punch needle carefully and keep your fingers away from the needle tip.